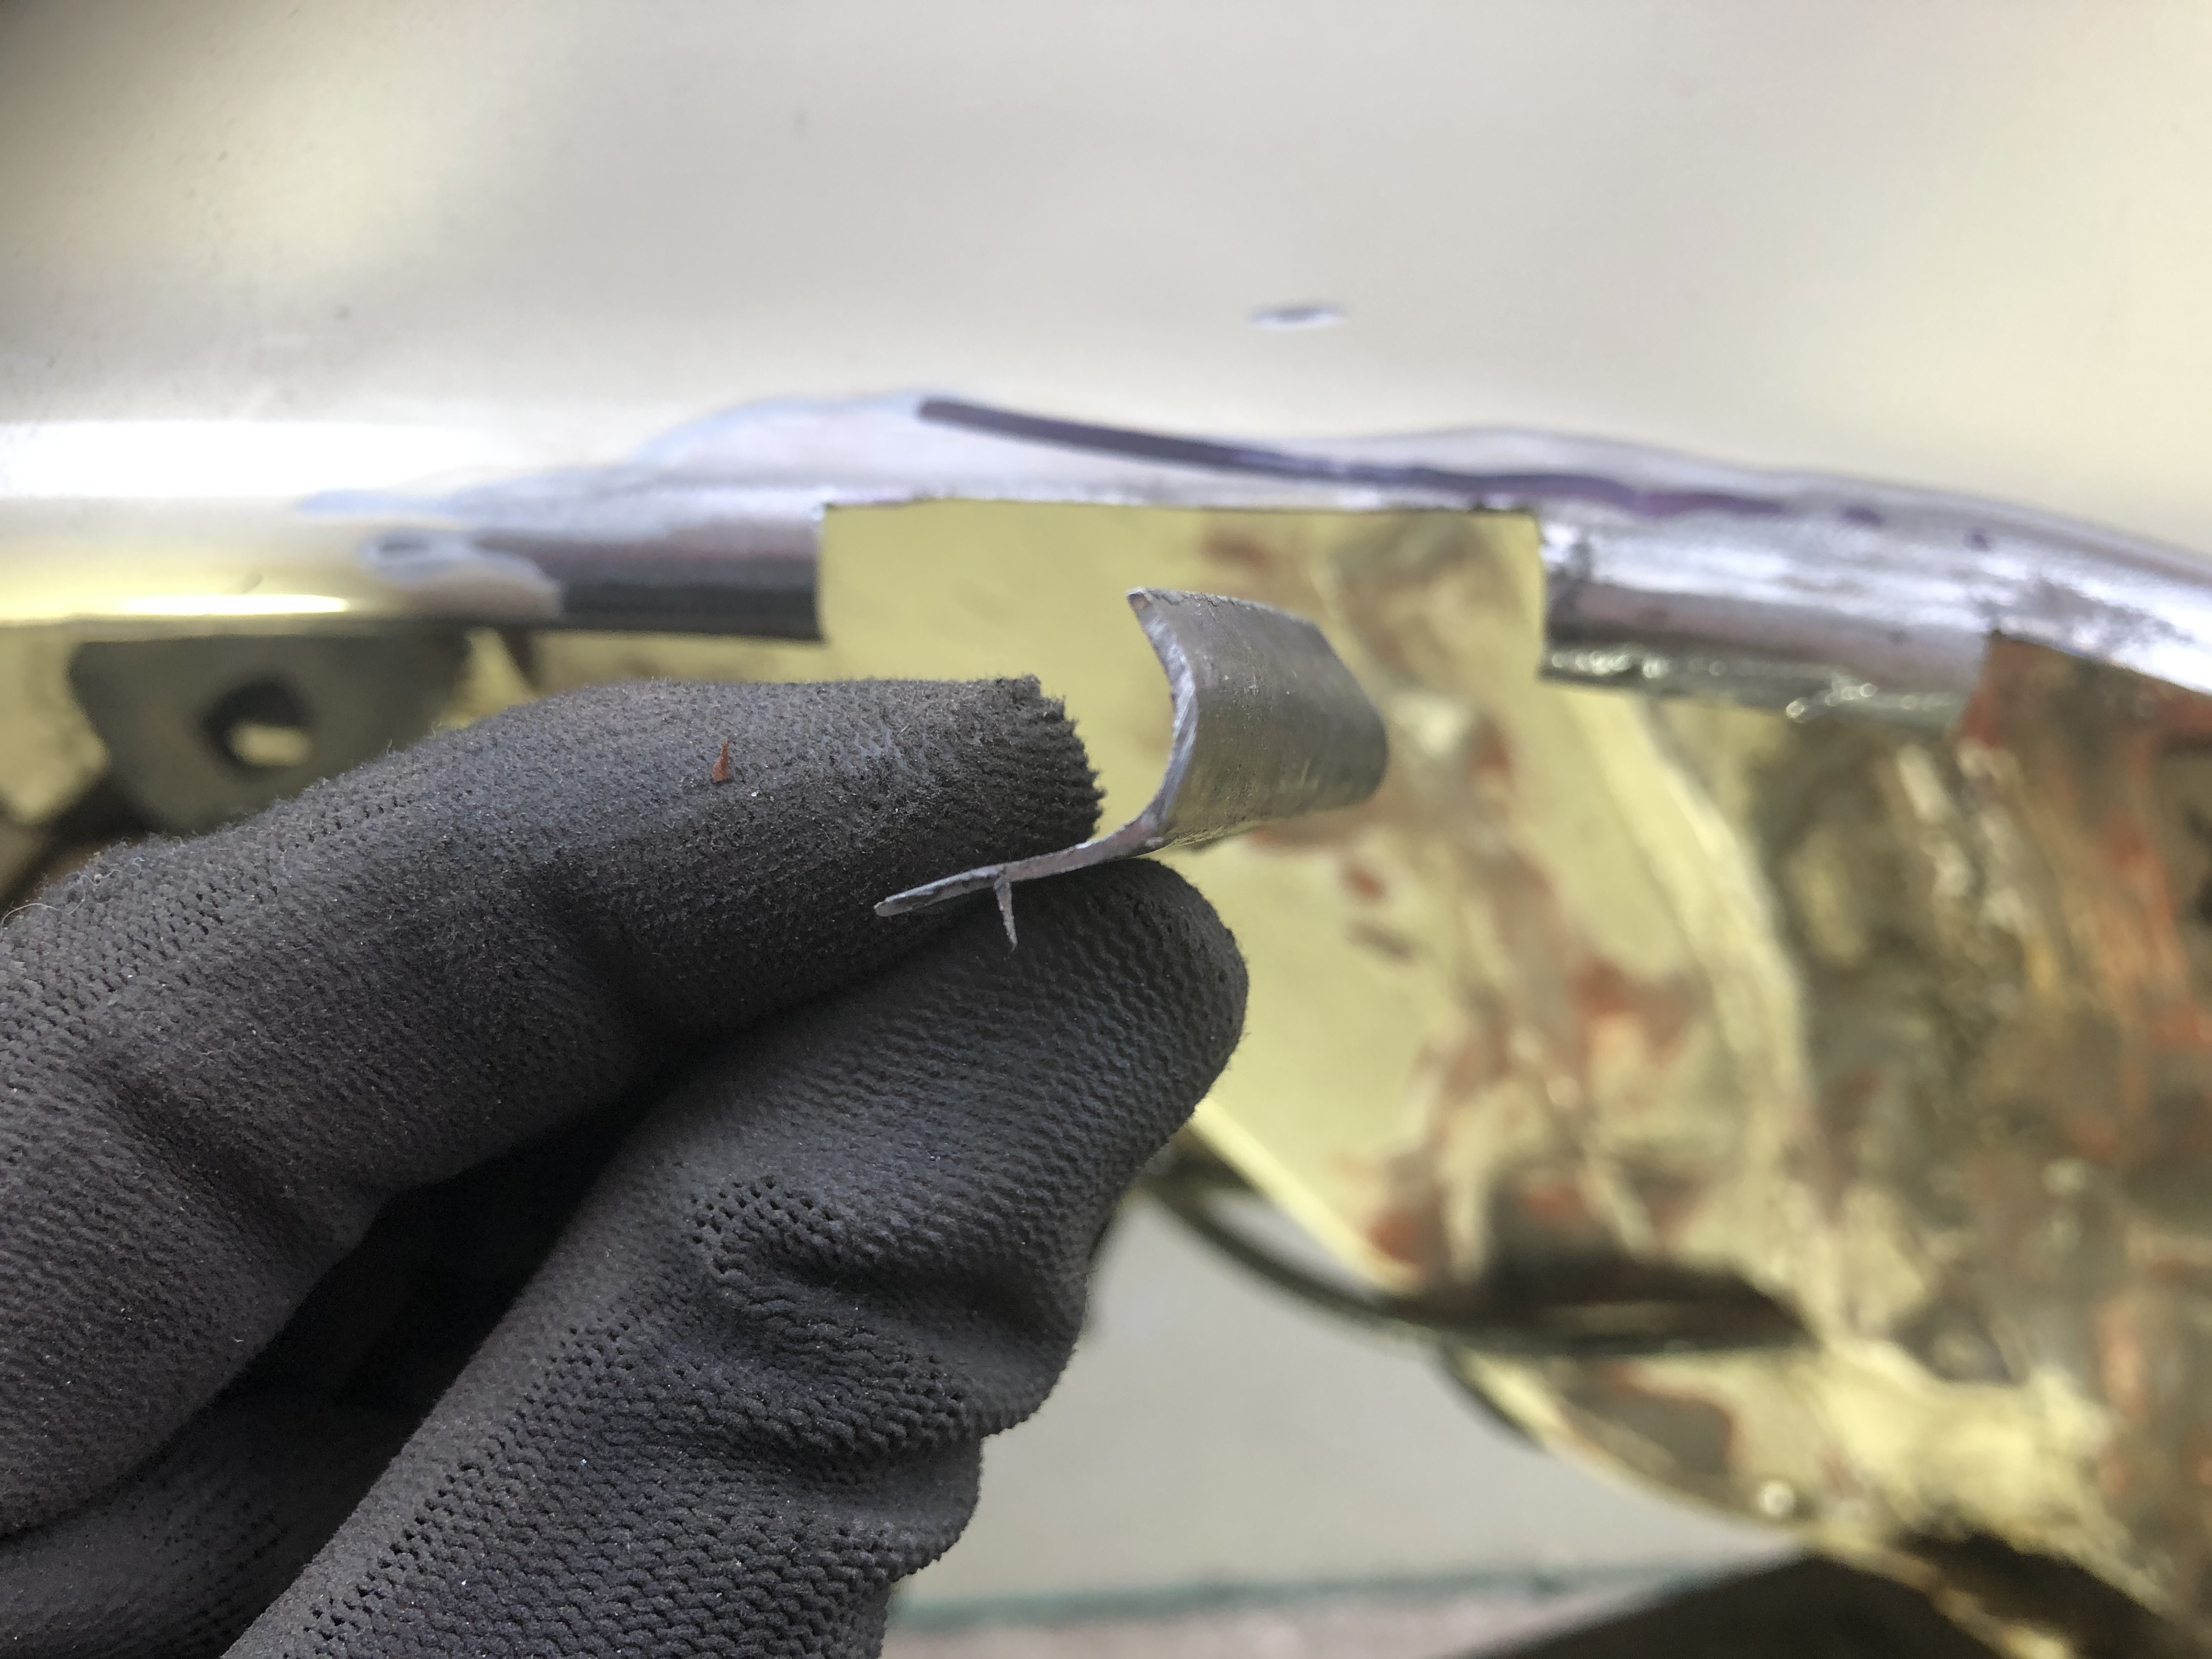
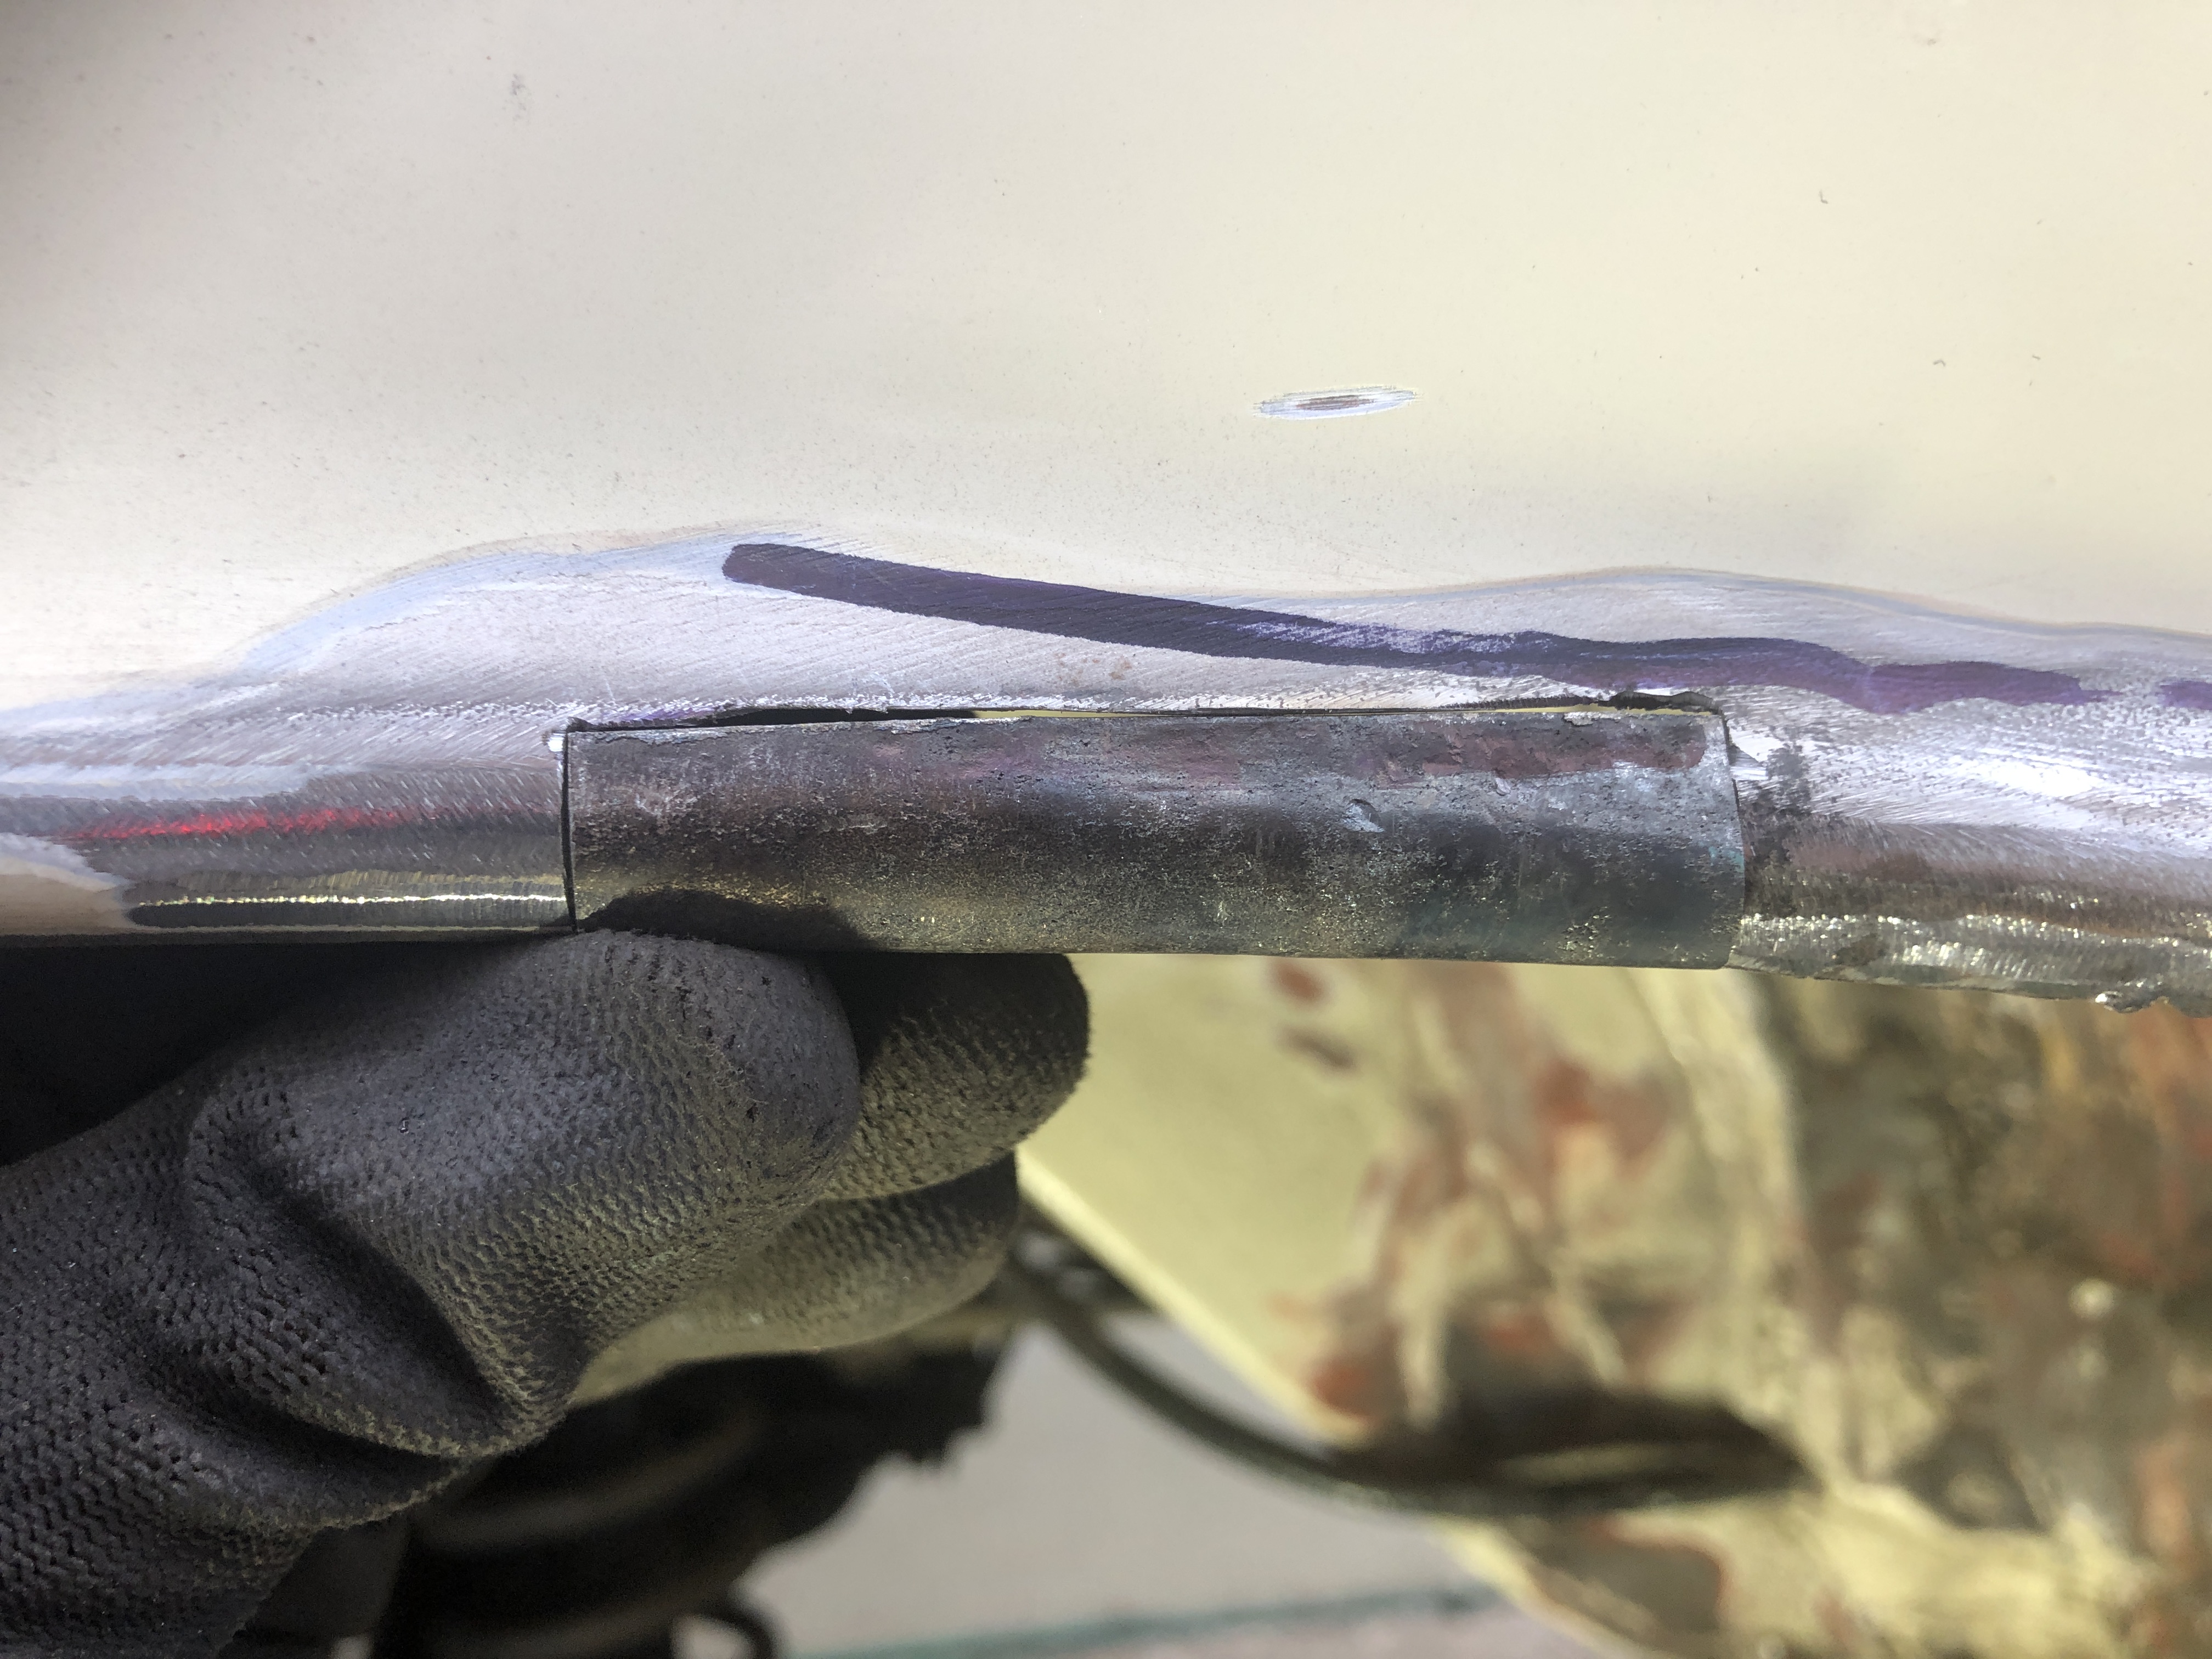
So I got the new metal and fabricated a new inner wheel arch by planishing the curves for the upper section using a ball pane hammer and a patch of soft earth in the back garden. I was wearing ear defenders during this process so I am not entirely aware of how much noise I was making so sorry to my neighbours.
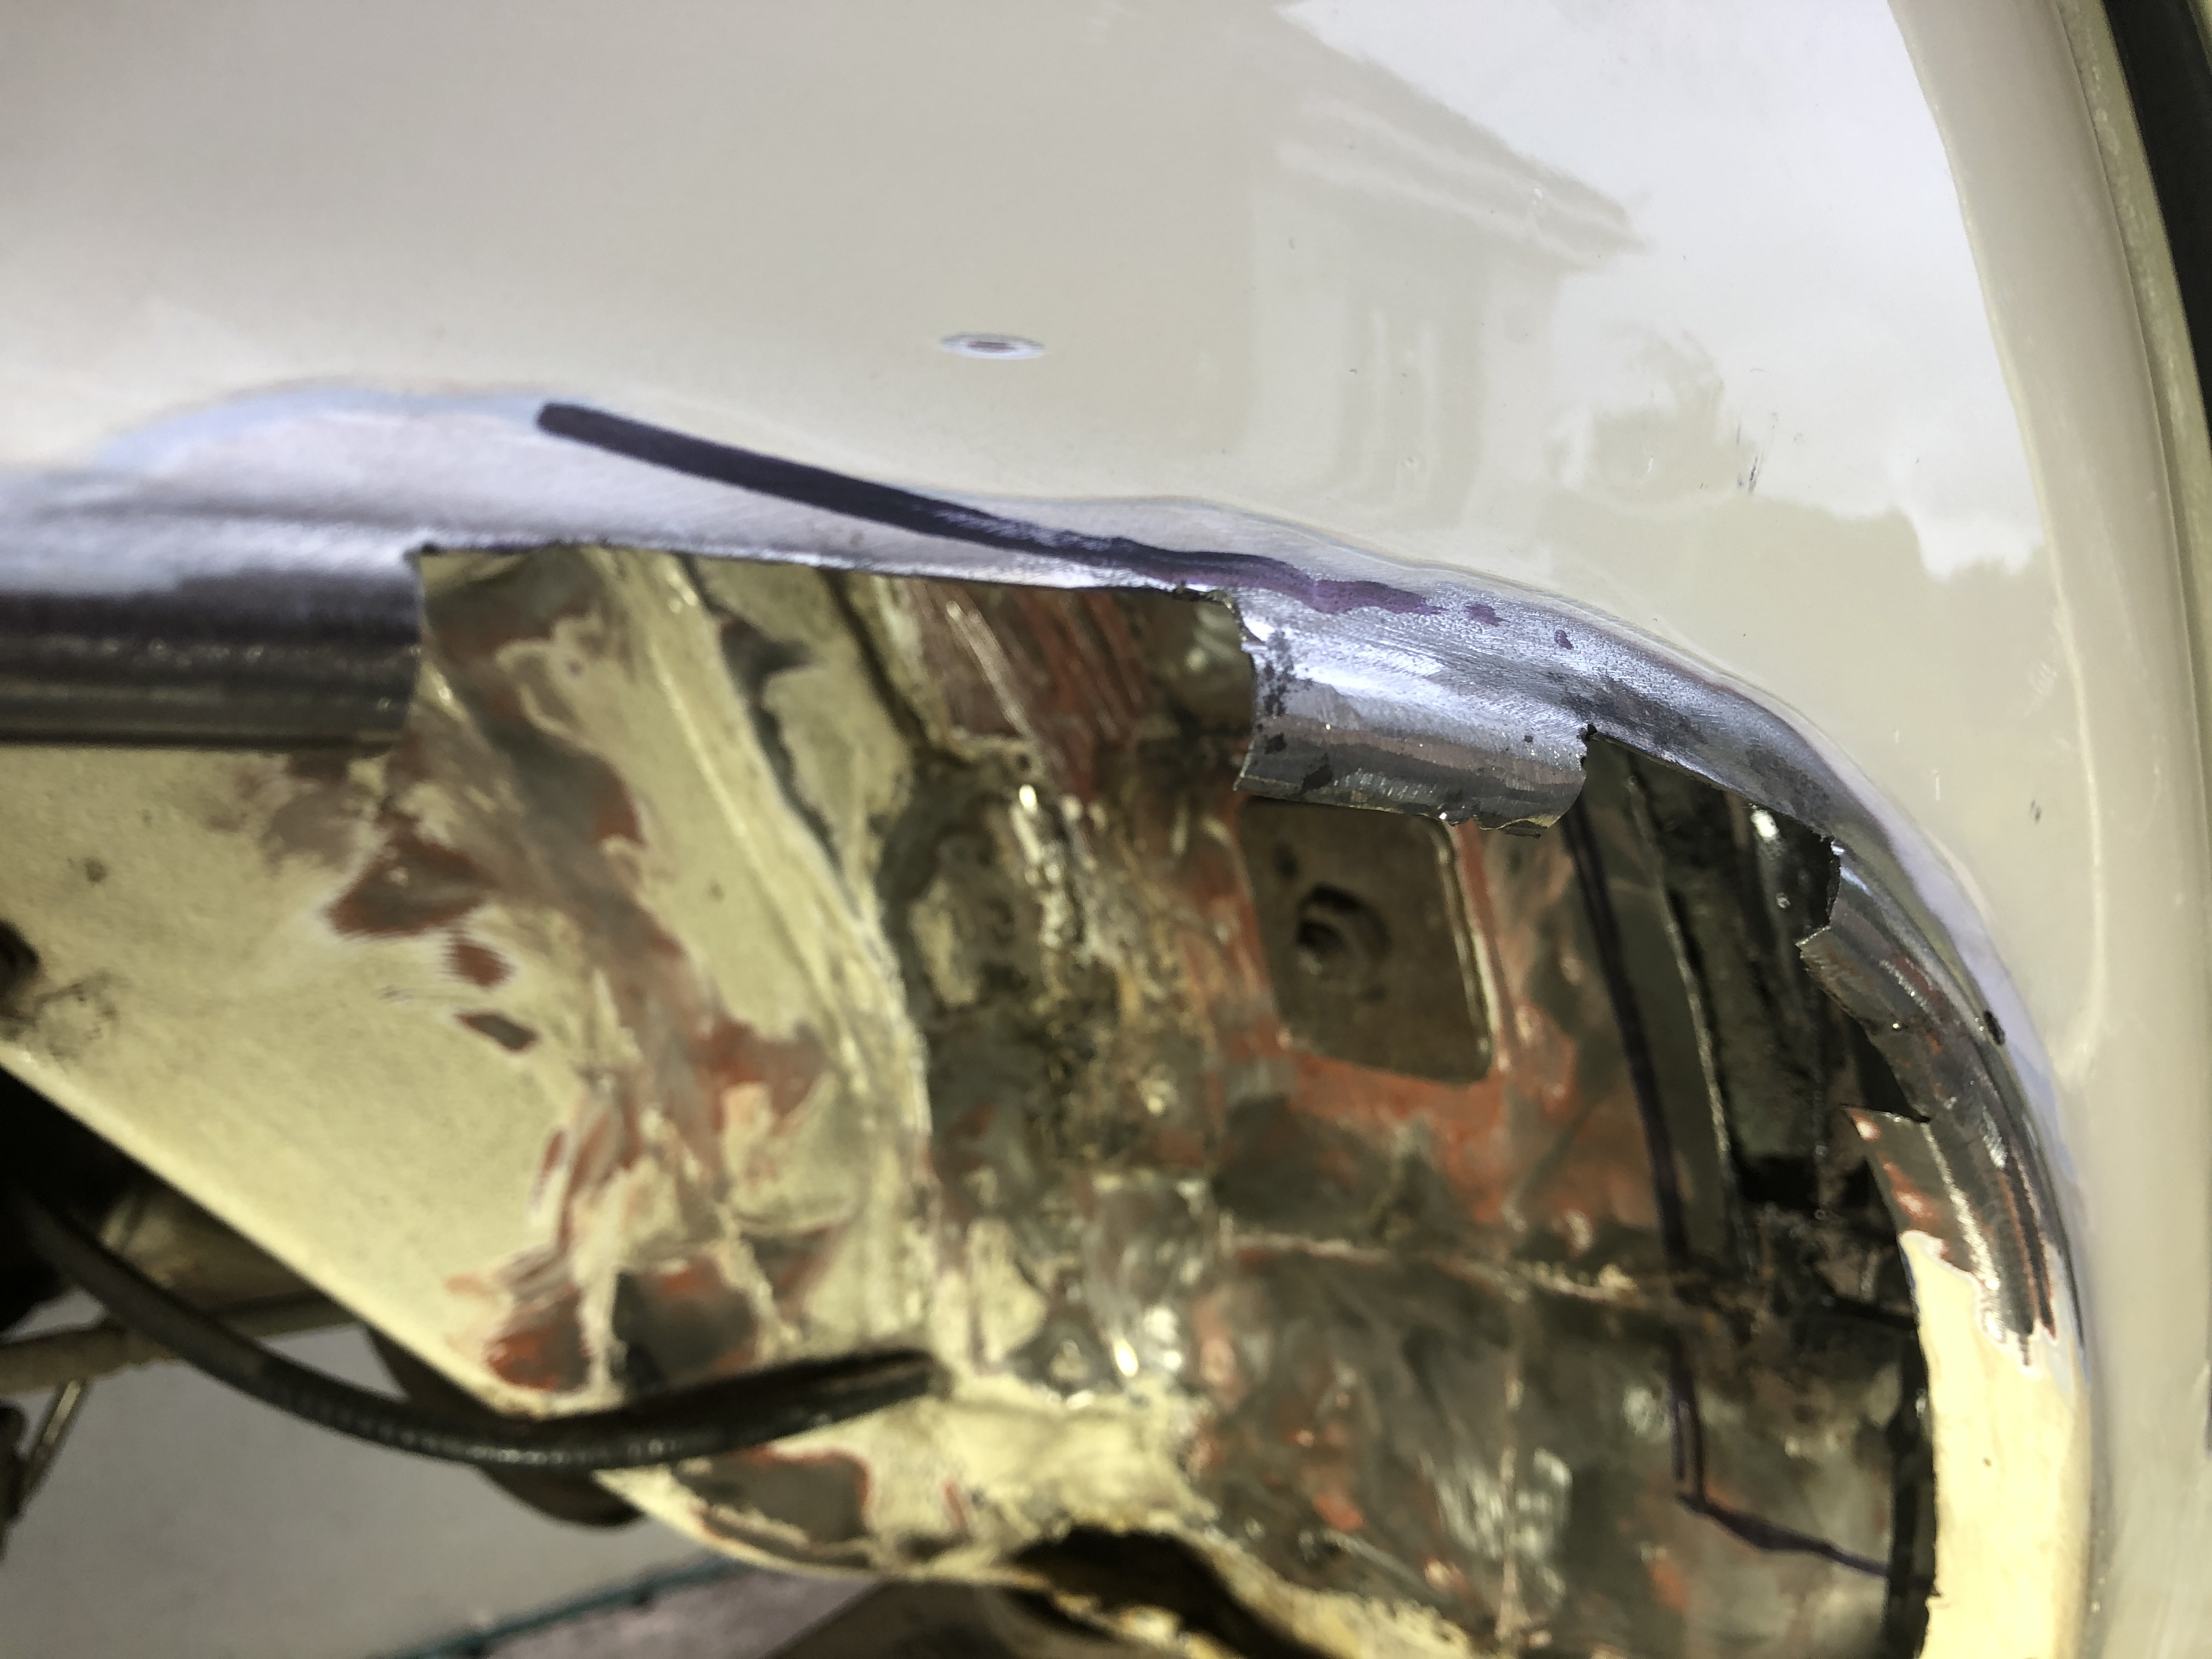
Having made up the new section I used it as a template to mark out the area I needed to remove and cut this out. I had decided that working up inside the wheel arch even with the wheel hub removed there just was not enough room to get in there and make an accurate cut which would allow me to butt weld the new section in so I had to leave half an inch of overlap. Having cut out all the rusty metal and created a hole big enough to get my hand in I painted all the exposed and bare metal in the rear wheel arch with a Hammerite direct to metal paint. Along the weld lines I painted the metal with a Zinc based primer which you can weld on to and it does not burn off on the back of the weld as a standard primer or paint would.
I tackled the outer arch holes by making up a couple of pieces I had formed to the correct shape. Welding them in was hard work though as I thought I had cut out enough old metal to get back to good metal but even with the welder turned right down I kept blowing through the old metal and had a lot of building up work to be done with the welder. Once these holes were closed the weld was ground down to form the shape again.
- IMG_9181.JPG (1.59 MiB) Viewed 2187 times
- IMG_9182.JPG (1.79 MiB) Viewed 2187 times
- IMG_9185.JPG (2.09 MiB) Viewed 2187 times
- IMG_9215.JPG (1.98 MiB) Viewed 2187 times
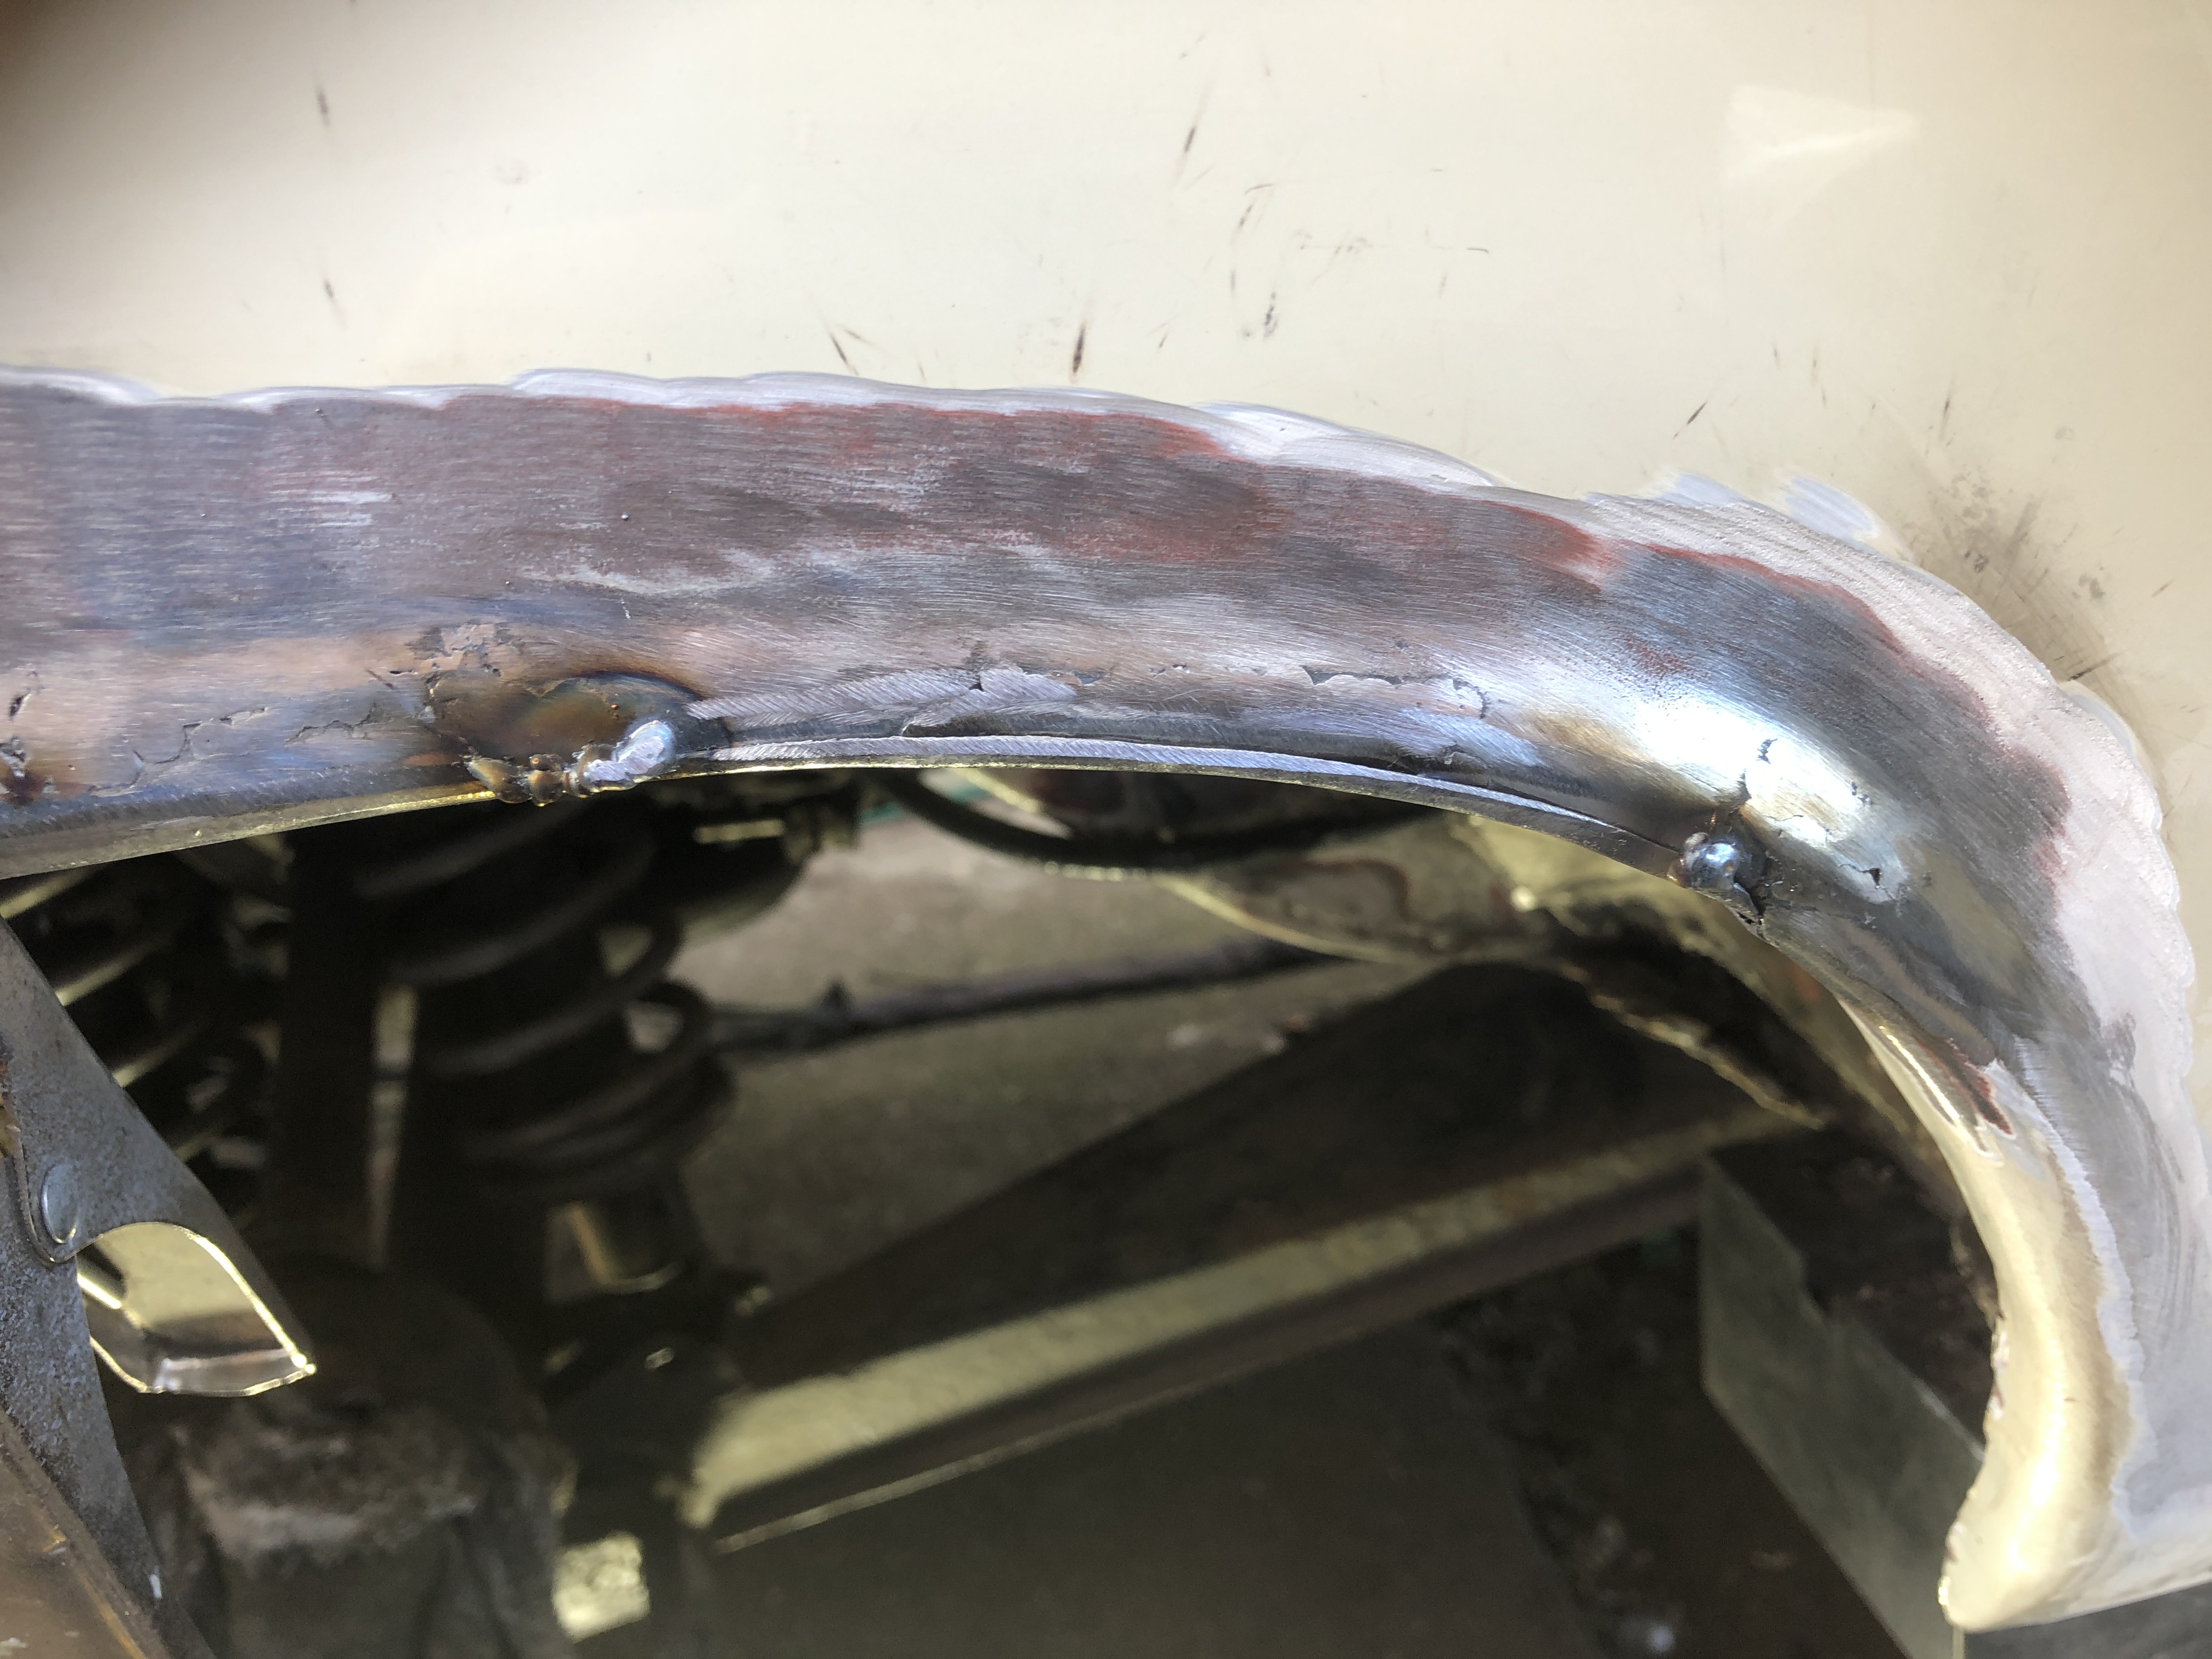
The inner arch was offered up and I had decided to fully weld the edges closed right around the patch. I had also decided to lift the inner arch up about one inch away from the bottom of the wheel arch and weld it correctly across the width of the outer arch so it was completely sealed.
- IMG_9128 (2).JPG (2.61 MiB) Viewed 2187 times
Trying to weld upside down inside the rear wheel arch is a nightmare. I am a big lad 6’2” 16 stone ex rugby player and my shoulder do not fit up inside the arch. Add to that a big welding helmet and you can understand why someone might take a short cut or two. I had bought a welding hood and a welding jacket to do the job both advertised as flame proof but nowhere does it say that they stop hot lumps of weld spark going through, burning holes in your arms and shoulders. I have a leather welding apron as well and this was draped over my legs plus leather welding gauntlets and I still got burnt several times. The worst was when a spark went down the top of my safety boot and burnt a hole in my ankle as I could not get the boot off quick enough to get the bloody thing out.
Anyway the inner arch was welded all the way round. To stop any warping of the panels I was tap welding a small section then leaving that to cool whilst I welded another section then going back to the first section again for a second tap and so on. All the raised welds were ground down and smoothed out then a smear of weld seal was run over the top.
The inside of the wheel arch was given a good pressure wash, scrub with an abrasive pad and then washed again and left to dry. I dropped the rear subframe so I could mask it off completely and the bump stop was removed. The underside of the arch was painted with several coats of a Hammerite under seal which is over paintable. The Hammerite comes in a Schultz tin for which I have a Schultz gum attachment for my compressor. Very easy to apply and once it was dry I painted the underside of the arch with WT3 Old English White.
- IMG_9284.JPG (2.39 MiB) Viewed 2187 times
The subframe and wheel hub were replaced and the car was taken to my local paint shop where they re-sprayed the outer wing for me.
- IMG_9291.JPG (2.41 MiB) Viewed 2187 times
- IMG_9324.JPG (2.29 MiB) Viewed 2187 times
When the car was returned I got the Schultz gun back out but this time loaded it with Waxoyl. Before using the Waxoyl I immersed the tin in a bowl of hot water to get the stuff really runny then sprayed it in to the void between the outer and inner rear wings via the holes in the rear door jamb behind the rear seat. With the Waxoyl being really runny I was able to force it right through the void with my air compressor Schultz gun. As I had some Waxoyl left in the tin I also removed my jacking point rubbers and gave them a clean and a good internal coating of Waxoyl. The waxoyling was done after the welding due to it being flammable and after the paint work was completed otherwise it gets everywhere and painters hate the stuff as the paint will not stick to it.
I would not recommend anyone taking this job on unless you are either like me someone who makes it up as you go along and don’t mind doing a good job even if it takes a while or if you are a competent welder and metal worker. My first trade was as a tool maker so I am fairly competent.
So all finished but I had to remove the back seat to do the welding and I have noticed the foam has deteriorated and is crumbling to pieces after 50 years of wear so my next job will have to be replacing that.
So I got the new metal and fabricated a new inner wheel arch by planishing the curves for the upper section using a ball pane hammer and a patch of soft earth in the back garden. I was wearing ear defenders during this process so I am not entirely aware of how much noise I was making so sorry to my neighbours.
Having made up the new section I used it as a template to mark out the area I needed to remove and cut this out. I had decided that working up inside the wheel arch even with the wheel hub removed there just was not enough room to get in there and make an accurate cut which would allow me to butt weld the new section in so I had to leave half an inch of overlap. Having cut out all the rusty metal and created a hole big enough to get my hand in I painted all the exposed and bare metal in the rear wheel arch with a Hammerite direct to metal paint. Along the weld lines I painted the metal with a Zinc based primer which you can weld on to and it does not burn off on the back of the weld as a standard primer or paint would.
I tackled the outer arch holes by making up a couple of pieces I had formed to the correct shape. Welding them in was hard work though as I thought I had cut out enough old metal to get back to good metal but even with the welder turned right down I kept blowing through the old metal and had a lot of building up work to be done with the welder. Once these holes were closed the weld was ground down to form the shape again.
[attachment=7]IMG_9181.JPG[/attachment]
[attachment=6]IMG_9182.JPG[/attachment]
[attachment=5]IMG_9185.JPG[/attachment]
[attachment=4]IMG_9215.JPG[/attachment]
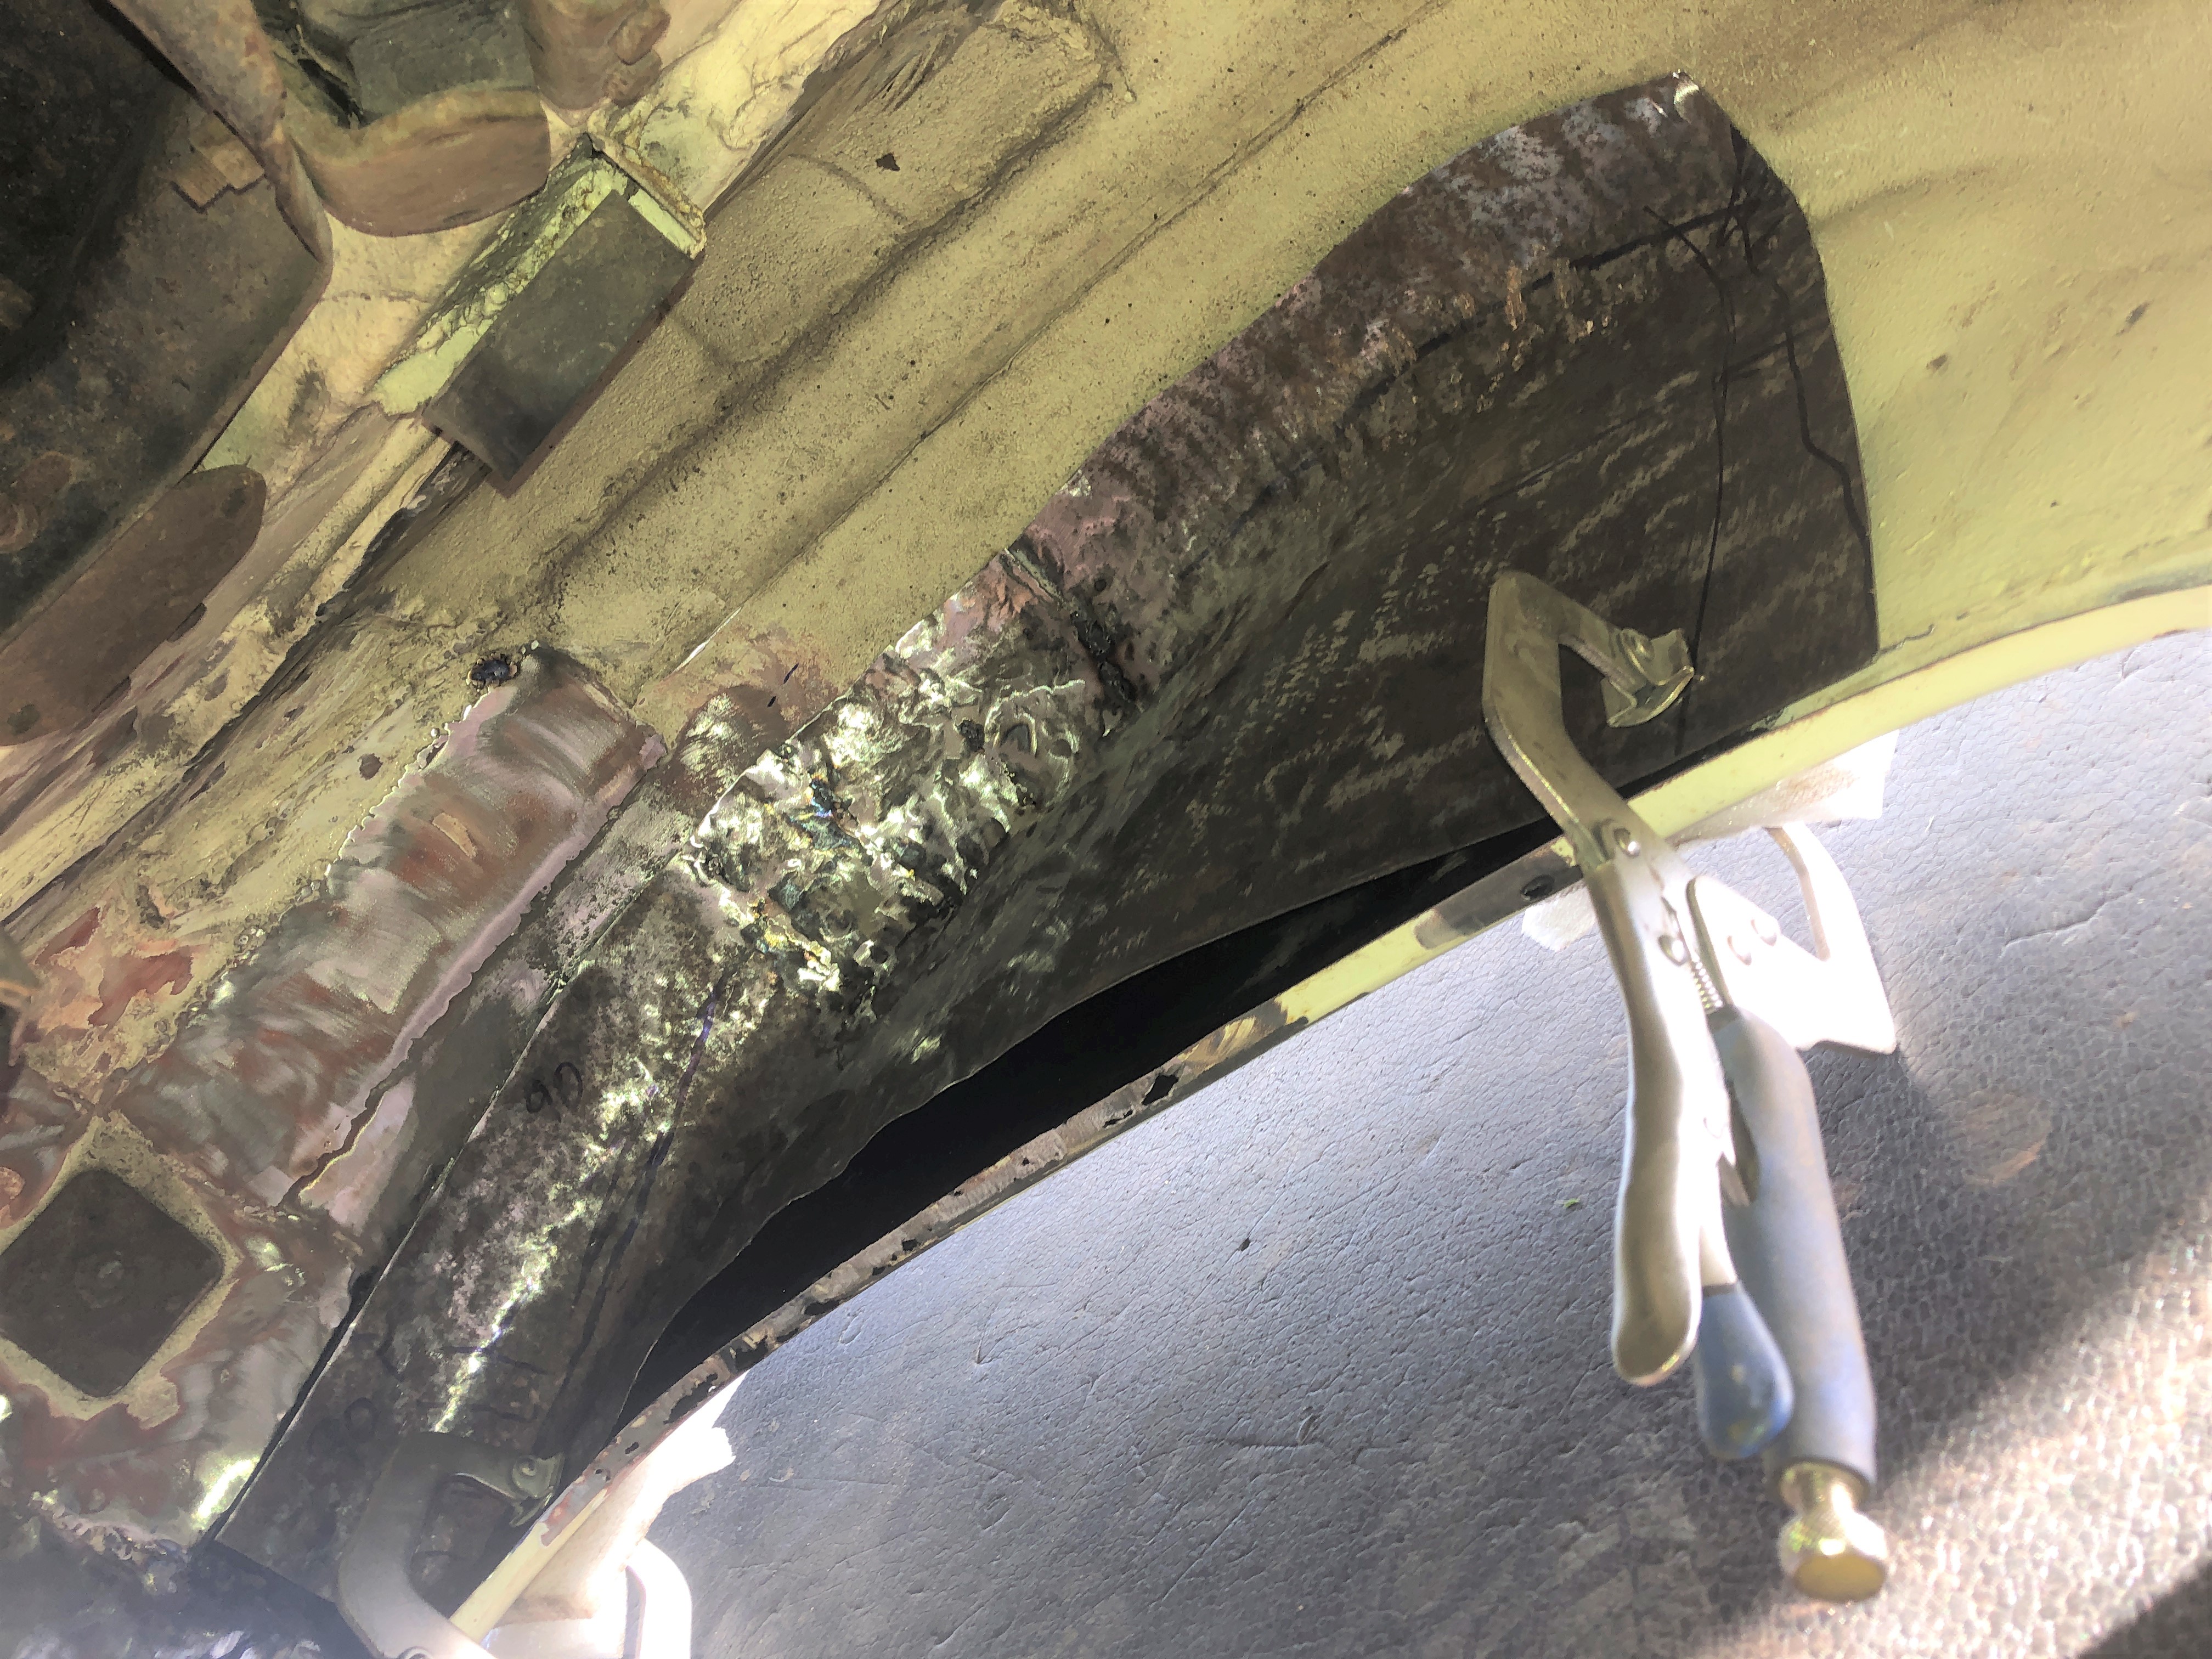
The inner arch was offered up and I had decided to fully weld the edges closed right around the patch. I had also decided to lift the inner arch up about one inch away from the bottom of the wheel arch and weld it correctly across the width of the outer arch so it was completely sealed.
[attachment=3]IMG_9128 (2).JPG[/attachment]
Trying to weld upside down inside the rear wheel arch is a nightmare. I am a big lad 6’2” 16 stone ex rugby player and my shoulder do not fit up inside the arch. Add to that a big welding helmet and you can understand why someone might take a short cut or two. I had bought a welding hood and a welding jacket to do the job both advertised as flame proof but nowhere does it say that they stop hot lumps of weld spark going through, burning holes in your arms and shoulders. I have a leather welding apron as well and this was draped over my legs plus leather welding gauntlets and I still got burnt several times. The worst was when a spark went down the top of my safety boot and burnt a hole in my ankle as I could not get the boot off quick enough to get the bloody thing out.
Anyway the inner arch was welded all the way round. To stop any warping of the panels I was tap welding a small section then leaving that to cool whilst I welded another section then going back to the first section again for a second tap and so on. All the raised welds were ground down and smoothed out then a smear of weld seal was run over the top.
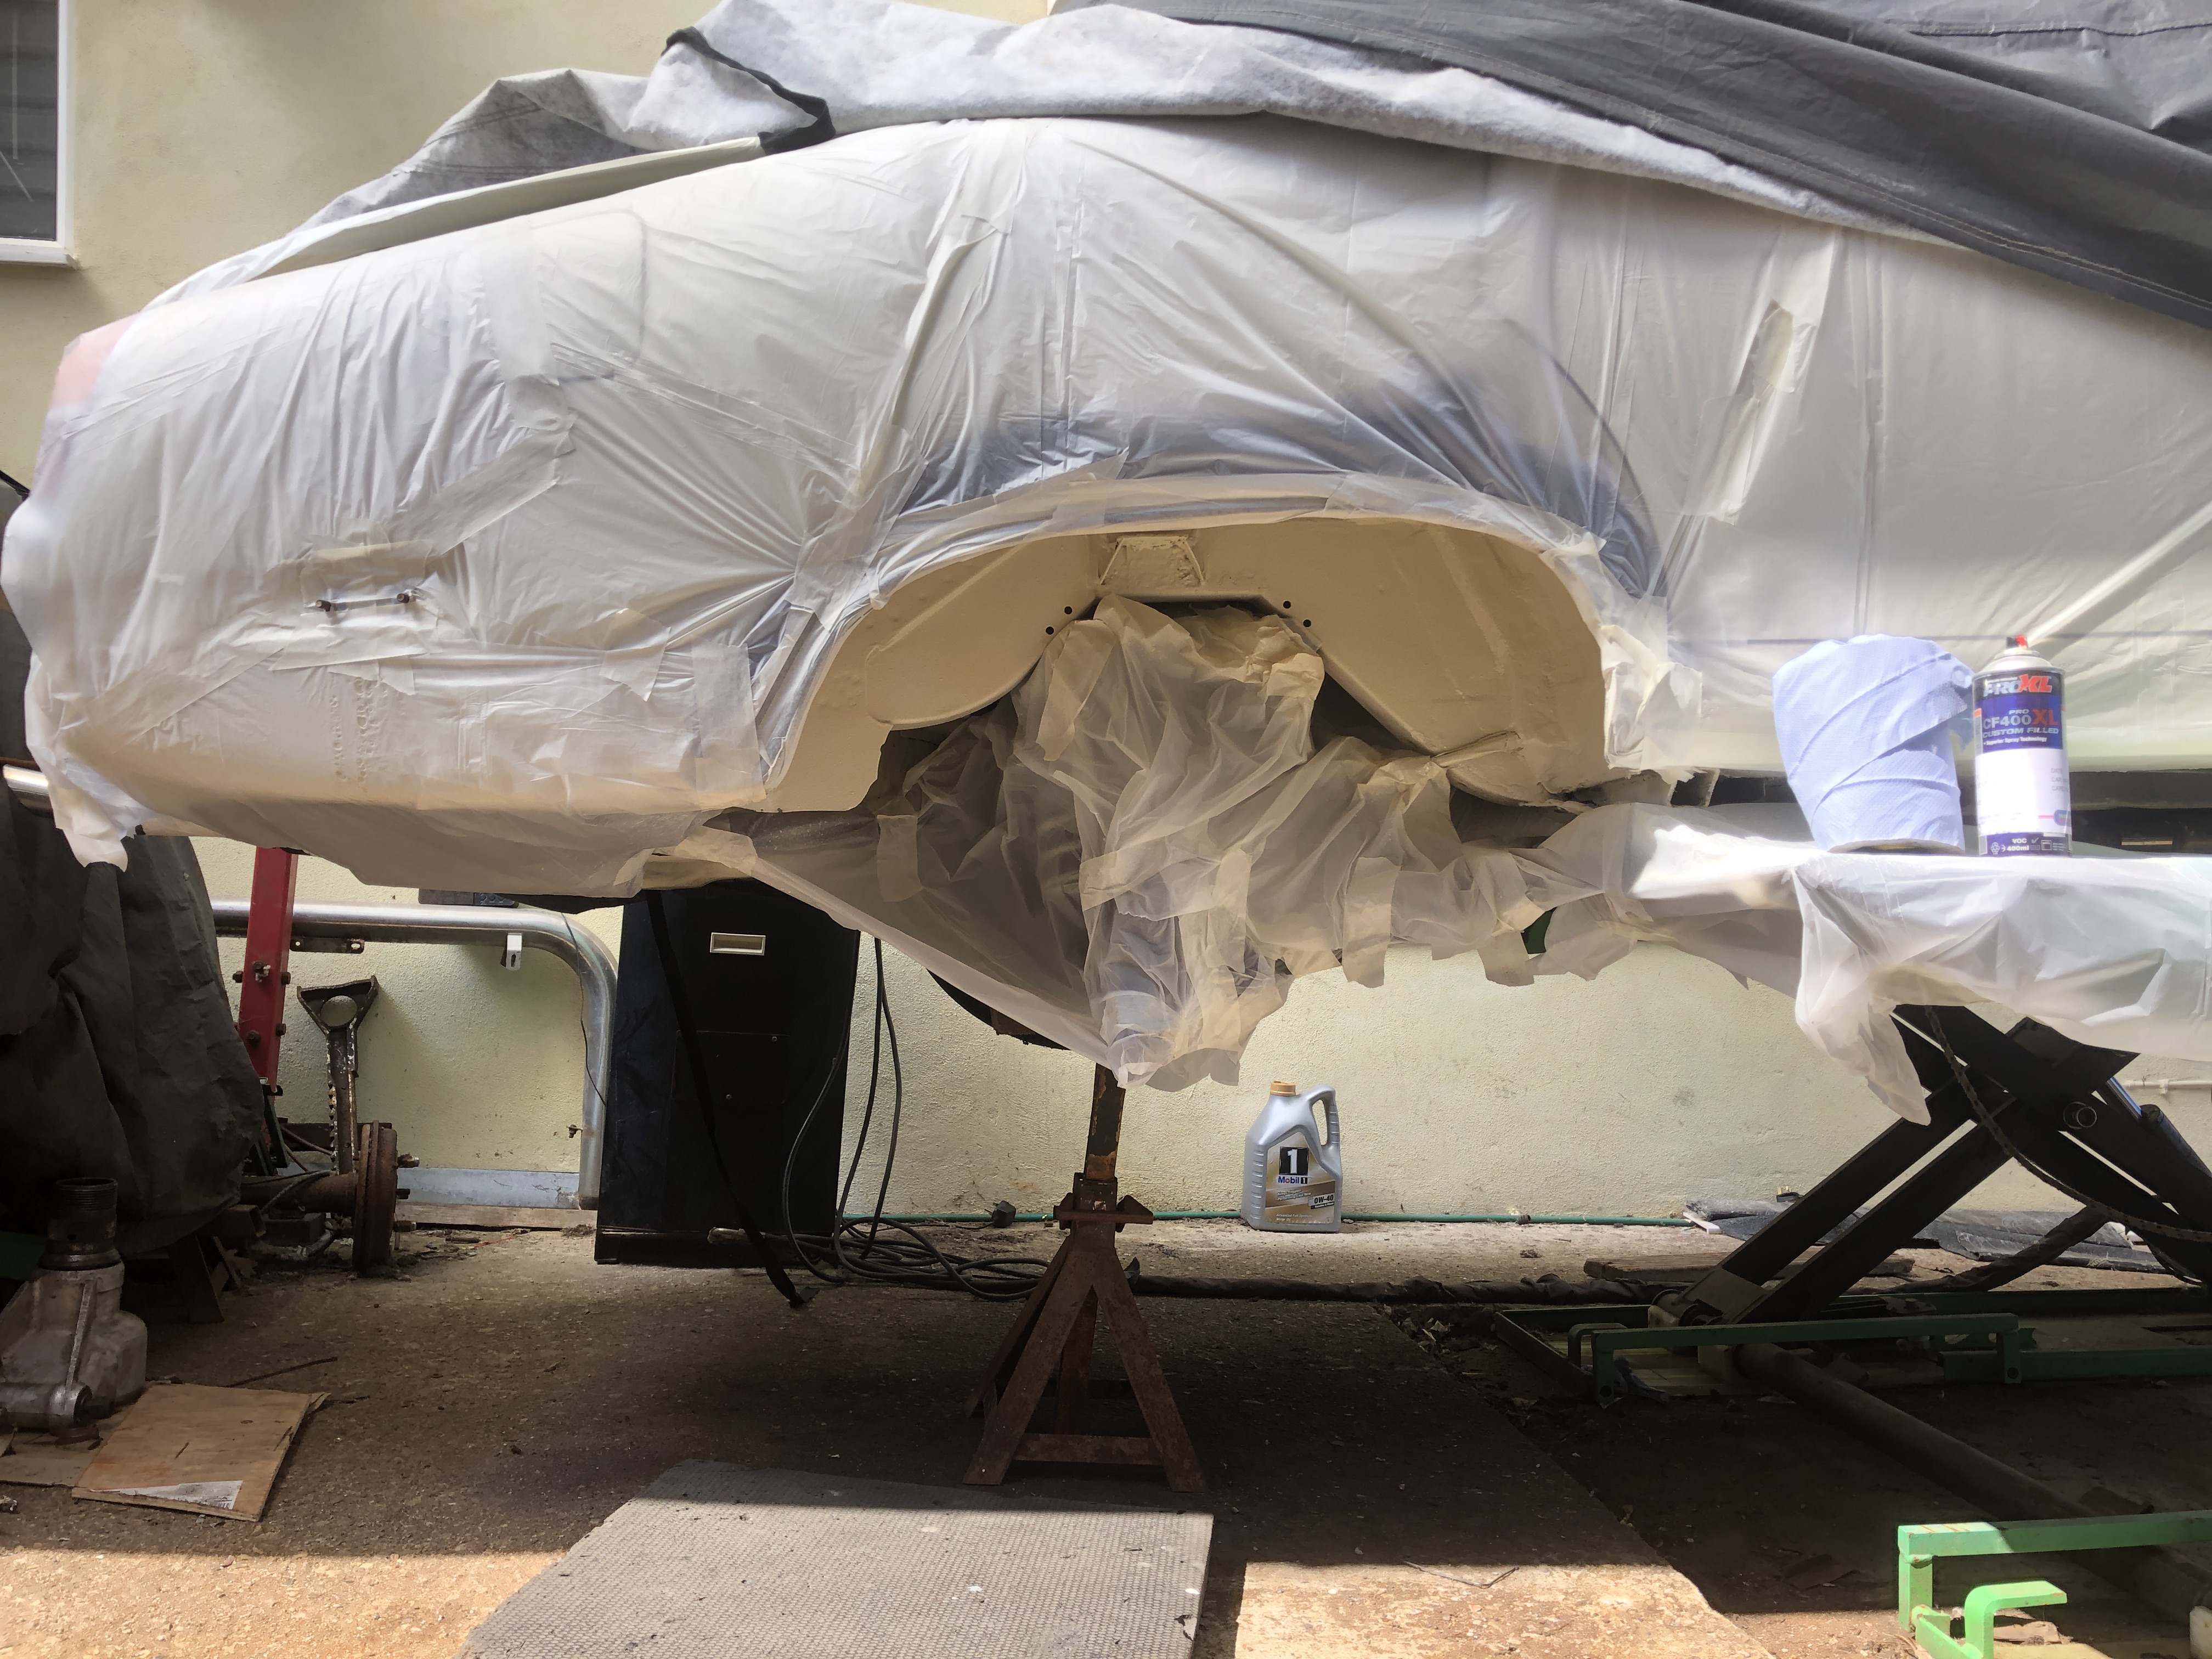
The inside of the wheel arch was given a good pressure wash, scrub with an abrasive pad and then washed again and left to dry. I dropped the rear subframe so I could mask it off completely and the bump stop was removed. The underside of the arch was painted with several coats of a Hammerite under seal which is over paintable. The Hammerite comes in a Schultz tin for which I have a Schultz gum attachment for my compressor. Very easy to apply and once it was dry I painted the underside of the arch with WT3 Old English White.
[attachment=2]IMG_9284.JPG[/attachment]
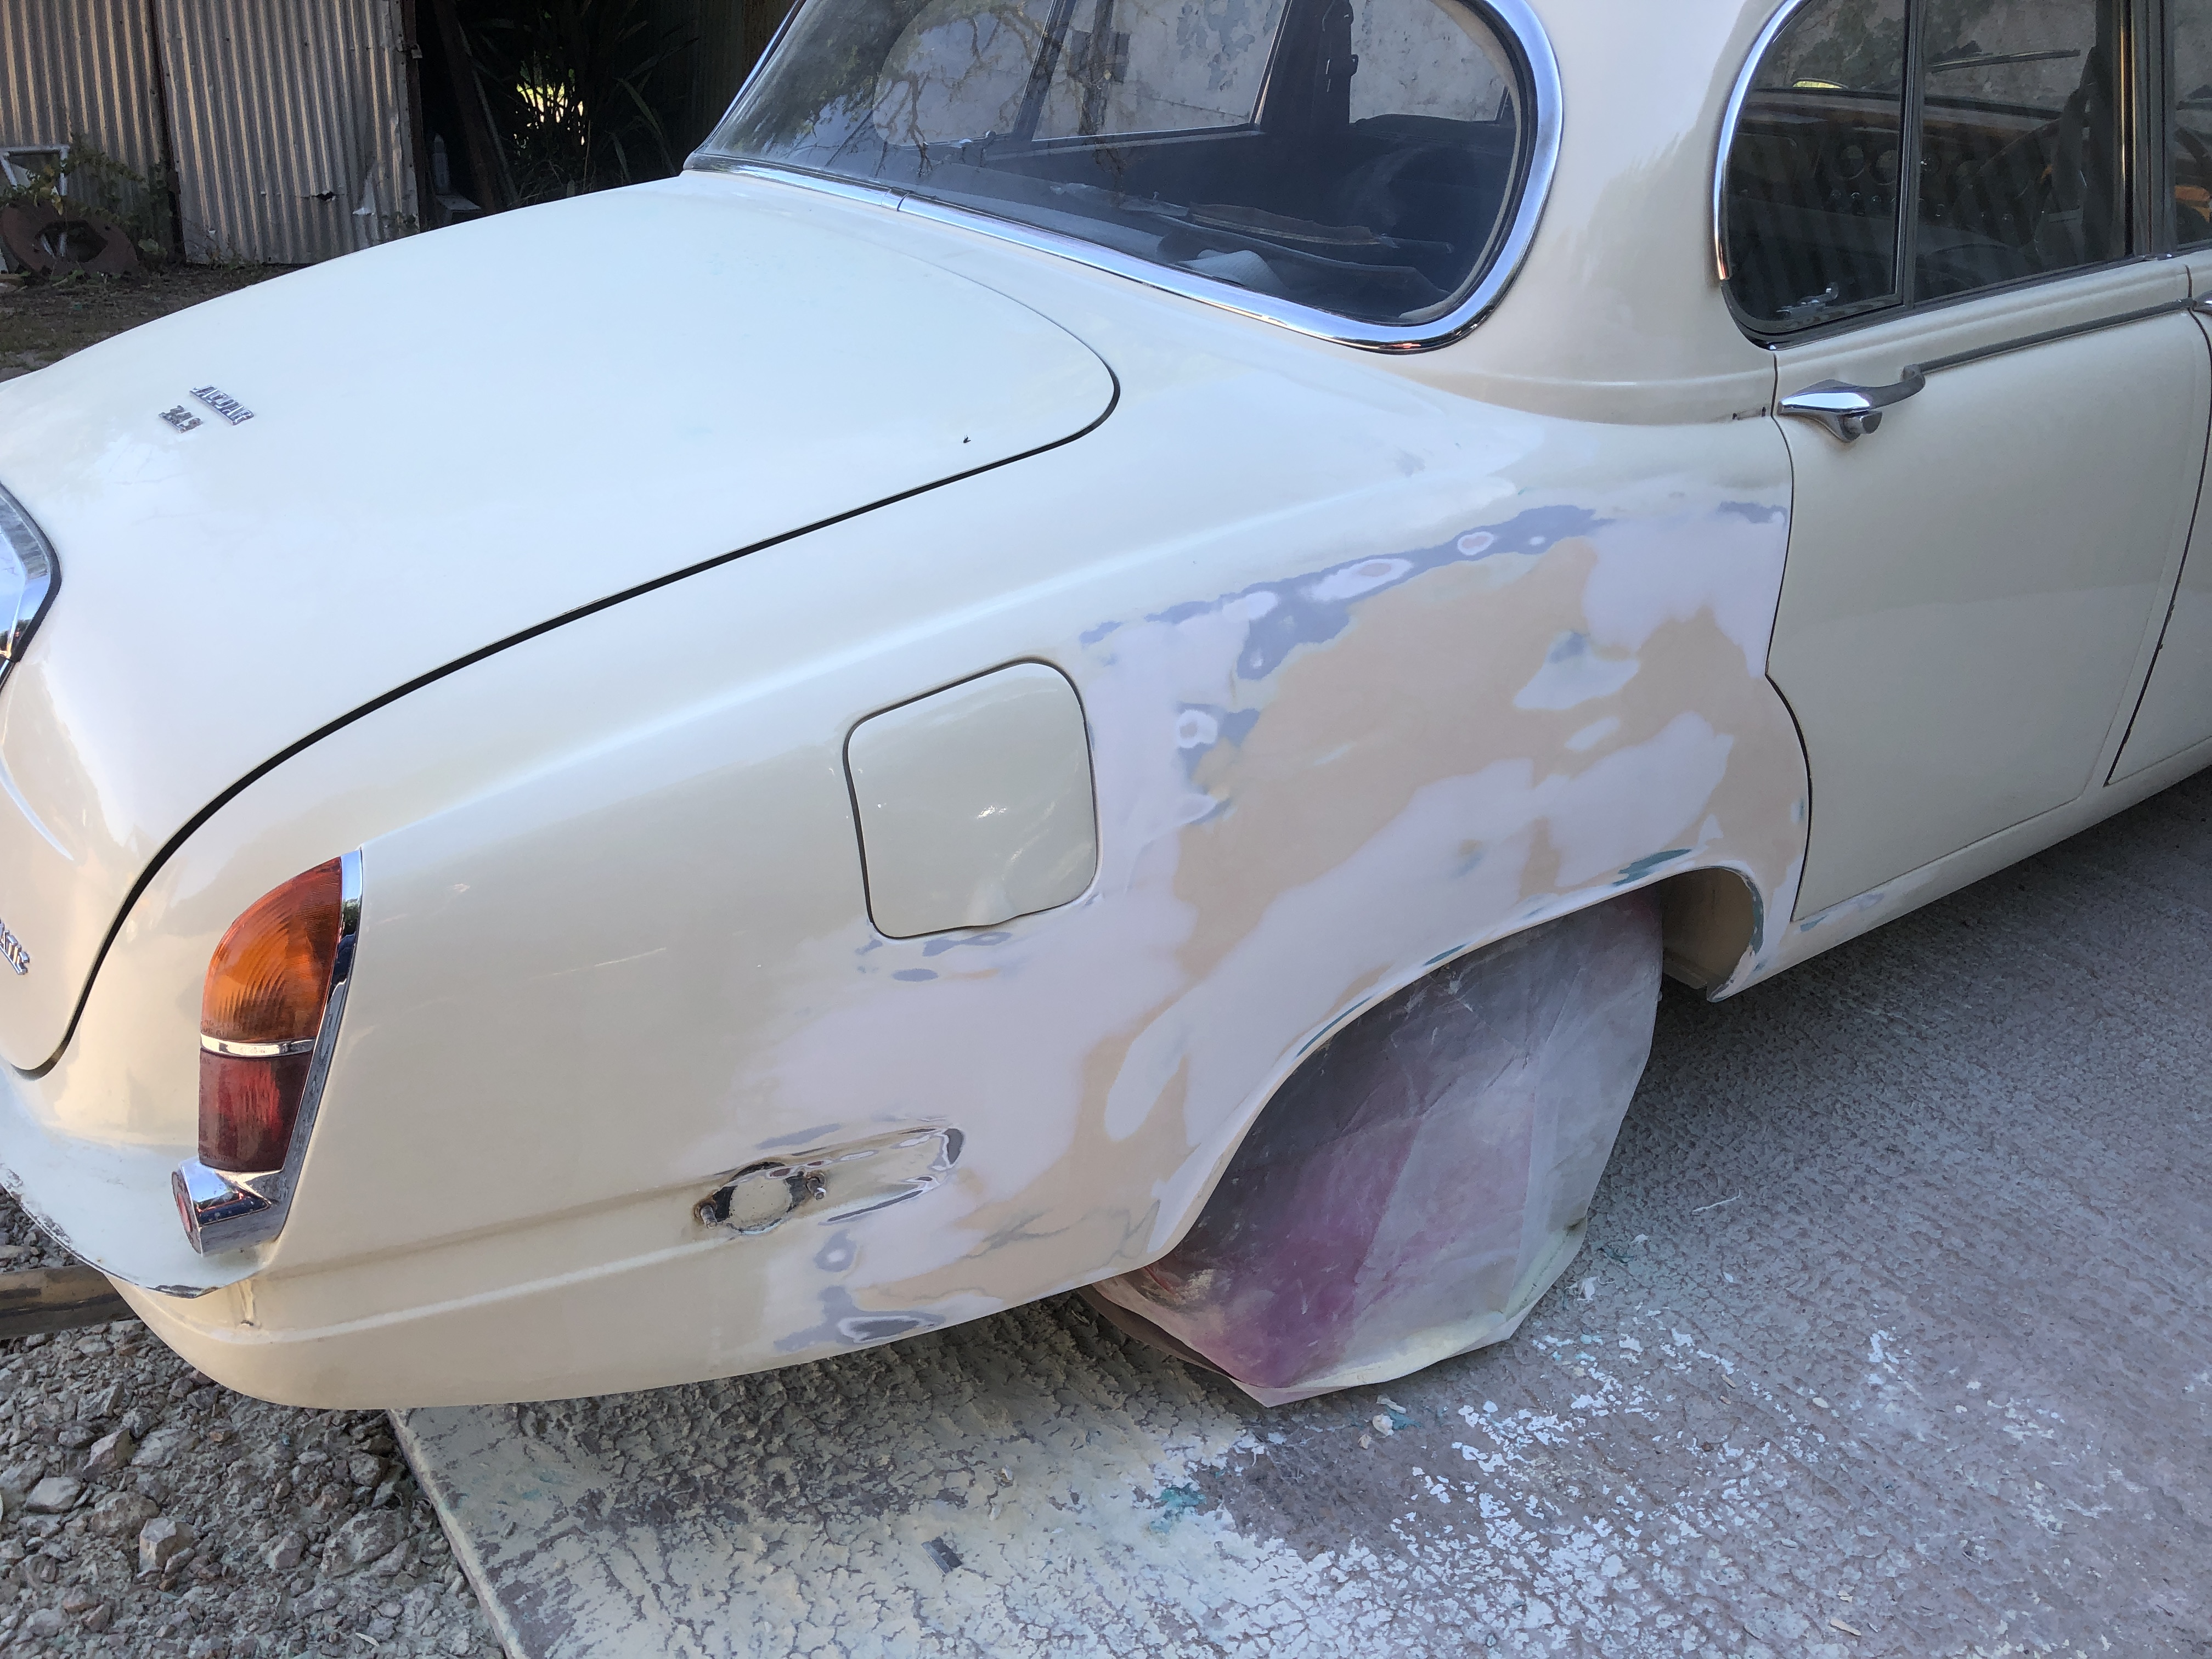
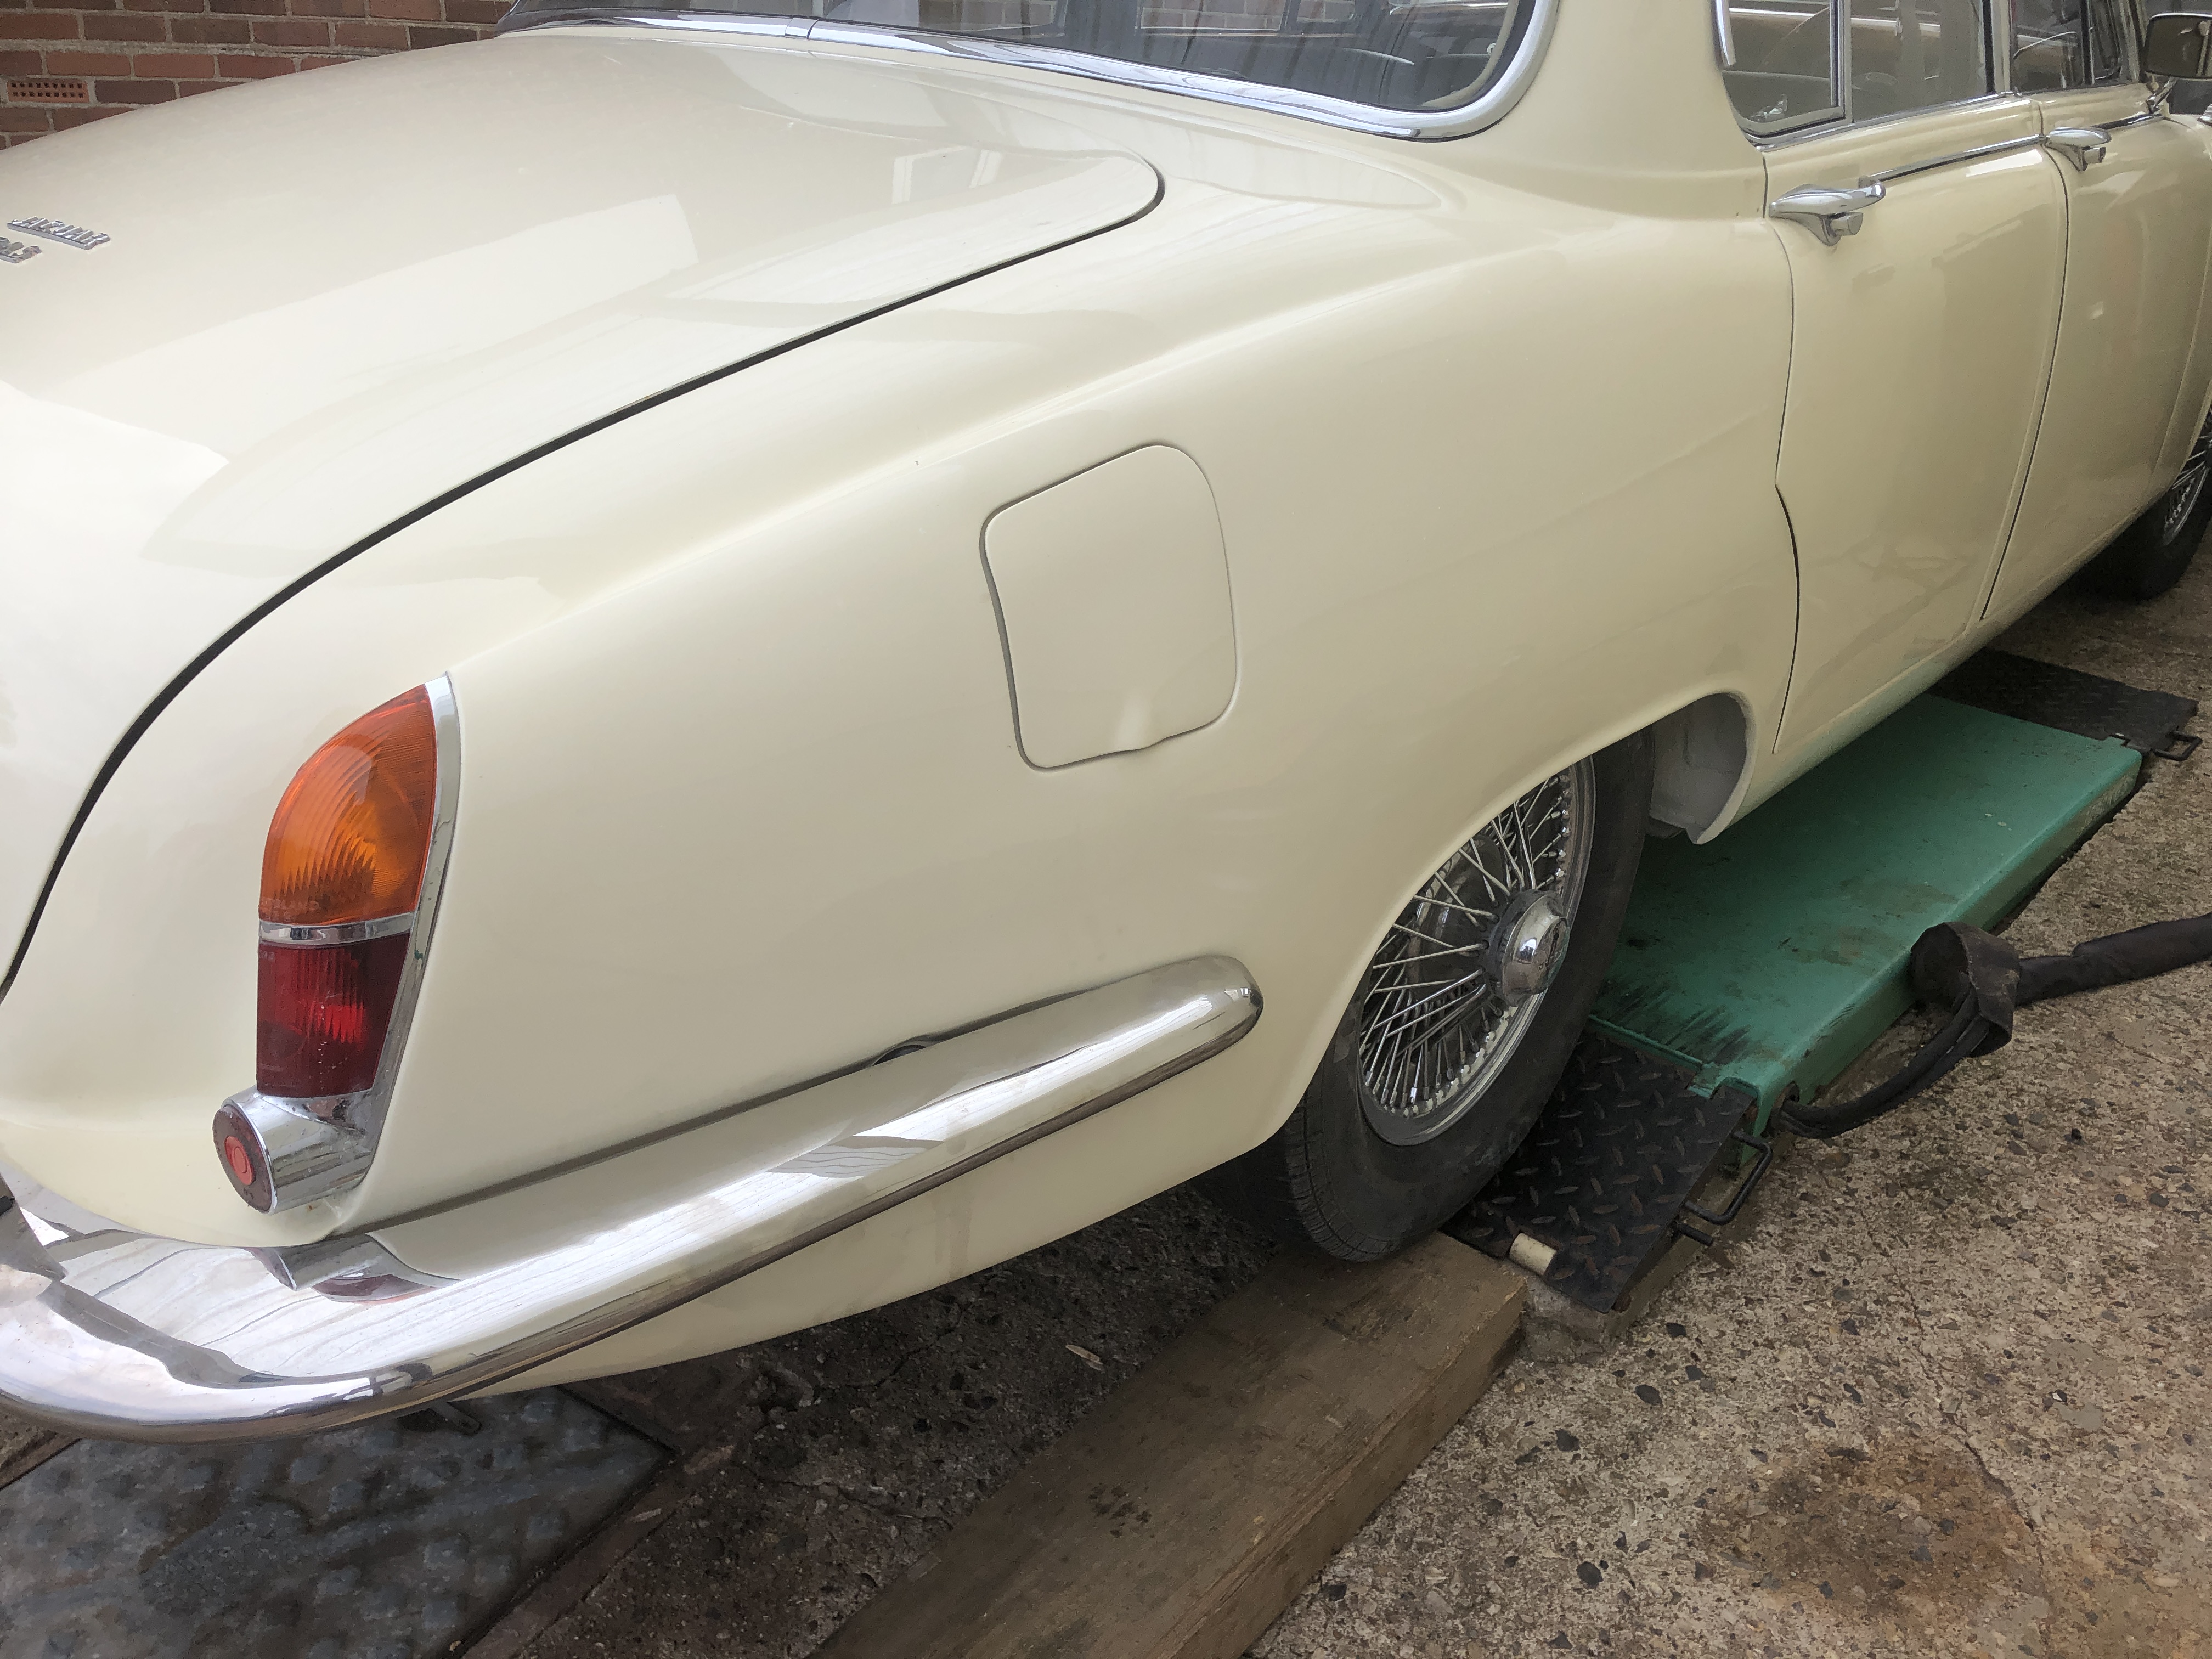
The subframe and wheel hub were replaced and the car was taken to my local paint shop where they re-sprayed the outer wing for me.
[attachment=1]IMG_9291.JPG[/attachment]
[attachment=0]IMG_9324.JPG[/attachment]
When the car was returned I got the Schultz gun back out but this time loaded it with Waxoyl. Before using the Waxoyl I immersed the tin in a bowl of hot water to get the stuff really runny then sprayed it in to the void between the outer and inner rear wings via the holes in the rear door jamb behind the rear seat. With the Waxoyl being really runny I was able to force it right through the void with my air compressor Schultz gun. As I had some Waxoyl left in the tin I also removed my jacking point rubbers and gave them a clean and a good internal coating of Waxoyl. The waxoyling was done after the welding due to it being flammable and after the paint work was completed otherwise it gets everywhere and painters hate the stuff as the paint will not stick to it.
I would not recommend anyone taking this job on unless you are either like me someone who makes it up as you go along and don’t mind doing a good job even if it takes a while or if you are a competent welder and metal worker. My first trade was as a tool maker so I am fairly competent.
So all finished but I had to remove the back seat to do the welding and I have noticed the foam has deteriorated and is crumbling to pieces after 50 years of wear so my next job will have to be replacing that.